Tutorial: ZBrush -Hard surface modelling techniques.
- Michael

- Feb 17, 2016
- 4 min read
ZBrush is great for organic sculpts, but can also be used with a little wizardry to create hard surface objects such as weapons, armour and props. The list below, whilst by no means comprehensive lists some of the techniques you can use to create these kinds of objects:
EXTRACTING FROM A ROUGH MODEL
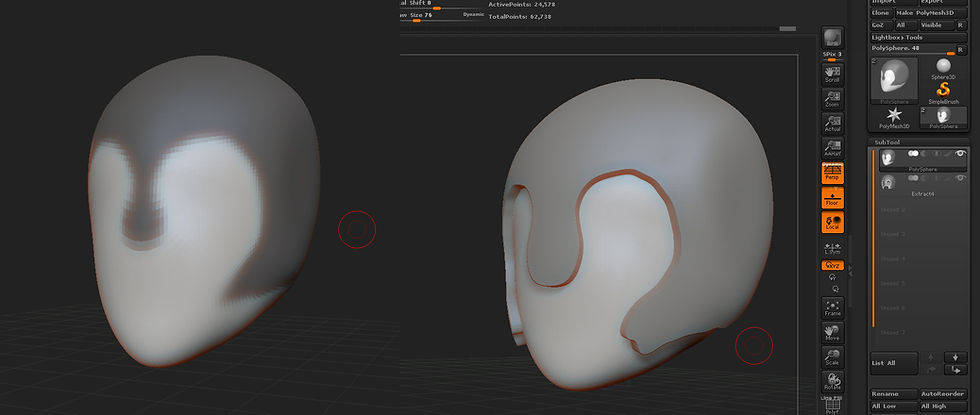
A common method is to make a rough model of a helmet or suit of armour, then mask and extract individual sections to polish them separately.
After modelling a rough version of your sculpt, open the subtool section of the Tool Palette.
Mask off the portion of your rough sculpt that you want to extract as it’s own object.
Click the Extract button – This will create a plate on top of your mesh at the chosen thickness.
Click Accept underneath to save this new plate as a separate subtool. This can then be refined and polished

CREATING WITH MASKS
Get a basic shape of the hard surface you want to create, such as a helmet or armour piece.
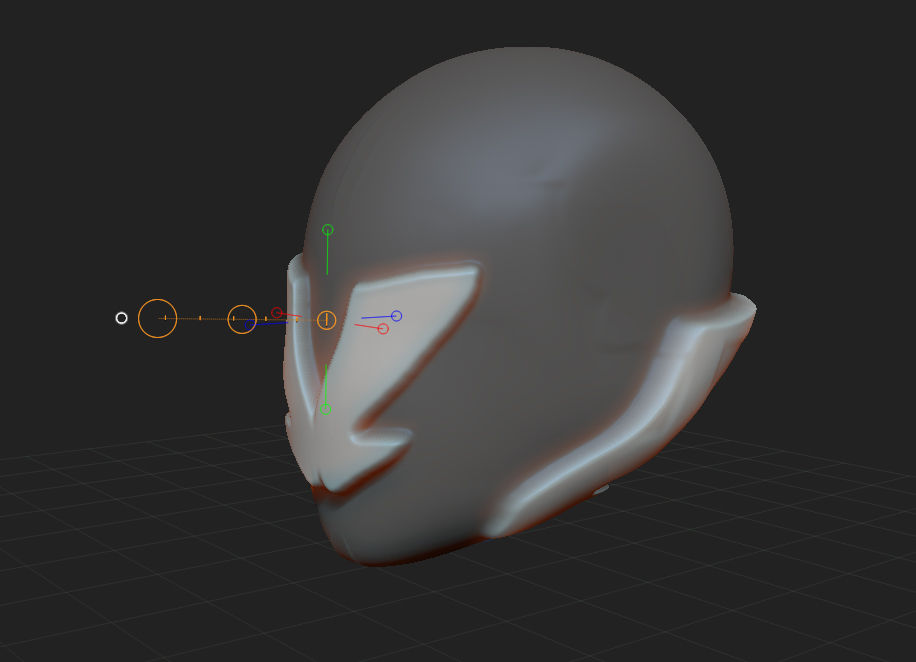
With a high subdiv level, Use the Mask Curve brush to create masks with nice clean edges, and add and subtract masks to get the shape you want.
Use the transpose brush to push in or out the masked section.
This can create rough areas around the edge, so in the Tool palette open – Deformation and choose Smooth by groups.

SCULPTING HARD EDGES WITH POLISH BRUSHES AND ALPHAS
With a high poly model (that has had a high density run through with zremesher to line up the polys more nicely) you can sculpt some decent hard edge details into your mesh using a variety of brushes.
Polish will smooth out any minor imperfections, eventually flattening your planes.
Pinch can be used to sharpen rounded edges into corners.
Slash can be used to carve deep grooves into the surface of your model.
Dam_Standard can also be used for this, with a slightly different shape of groove.

CARVING SHAPES WITH CLIP BRUSHES
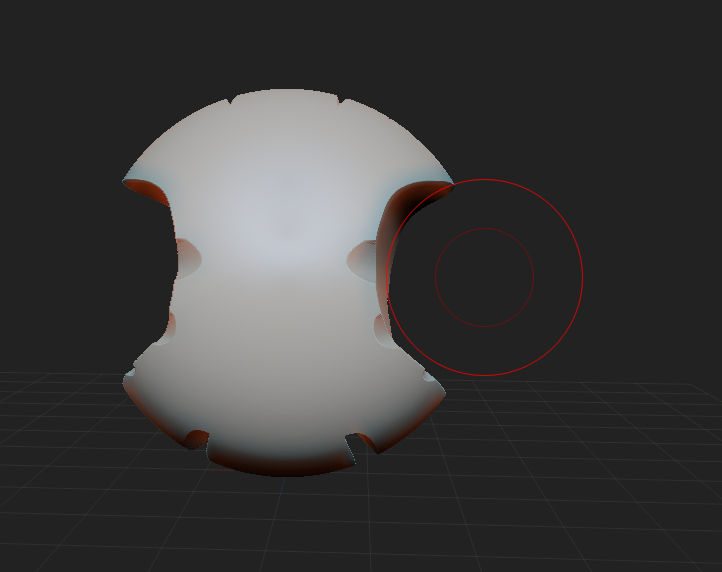
The Clip Brushes can be used to select part of your mesh and cut it away. This works like cutting clay with a wire.
The Clip brushes become selection brushes, meaning you must hold Ctrl + Shift to activate them.
For example, with Clip Circle selected, you can hold Ctrl + Shift and drag a circle over part of your model. Everything outside that circle will be cut away and a smooth surface will remain around the circumference of the circle.
Hold Ctrl + Shift+ Alt to invert the brush, and make it remove those sections covered by the brush. This is the more likely use.

MANUAL RETOPOLOGISING
Even with the most careful sculpting you might still have some imperfect edges, wonky lines and uneven surfaces. This is why you will at some point have to retopologise your model. This way you will be in full control of the edgeflow and get the hard edge results you want. Retopology is tackled elsewhere on this blog, However, there are some cool techniques that can be used for hard edging.
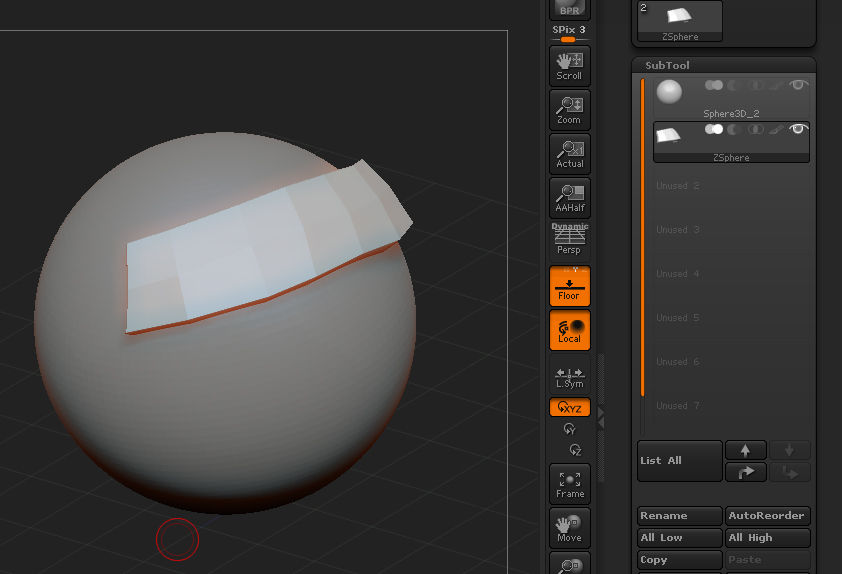
By appending a zsphere and retopologising on top of a base sculpt, you can instantly create armor panels by increasing the ‘Skin Thickness‘ slider in the Topology menu. Pressing ‘A‘ Activates adaptive Skin mode, which will show you your progress. The ‘Density‘ slider can be increased to increase the polygon resolution and smooth your panels.
You can then also use the ZModeller brush to carve in more intricate details to the base shapes.

CREASING EDGES
When you subdivide a retopologised model, you will once again lose a lot of the hard edges. To prevent this, we can crease the edges. Creasing is the same as adding extra edgeloops in a box modelling program such as 3DS max.
One way to add a crease to a low poly model is to use the SelectLasso brush.With this selected, draw a lasso around the area you want. (It may hide the unselected area)
Next, In the Geometry palette, open the crease panel and click the Crease button. This will automatically add a crease around the edge of the selected polys. When subdivided, this additional crease will help maintain the definition of your edge.
Alternatively, add creases with the ZModeller brush:
Select the ZModeller brush then Right click on an edge or poly to open the ZModeller menu. Choose Crease from the Actions box, and select your appropriate target from the box below – ie. a polygroup or edgeloop.
REMOVING PARTS VIA BOOLEAN
You may want to cut holes through plates or have certain shapes carved out from areas of your model. A way to do this is to use dynamesh and Booleans, as explained below:
1: With your tool selected and Dynamesh active, open the brush panel and choose any type of ‘Insert’ brush – cube, cylinder etc.
2: Hold the Alt button, then drag-click it out over the mesh. The brush will be black and inverted – i.e only the insides will be visible. Transpose it to the correct position.
3: Drag click over an empty part of the canvas to refresh the Dynamesh, and the negative part of the brush will be subtracted.
NB – An alternative way to Boolean is to have your base mesh as one tool, and your subtractive parts as a subtool. Merge them together, but switch the blend mode icon in the Subtool layer list from additive to subtractive.

Comments